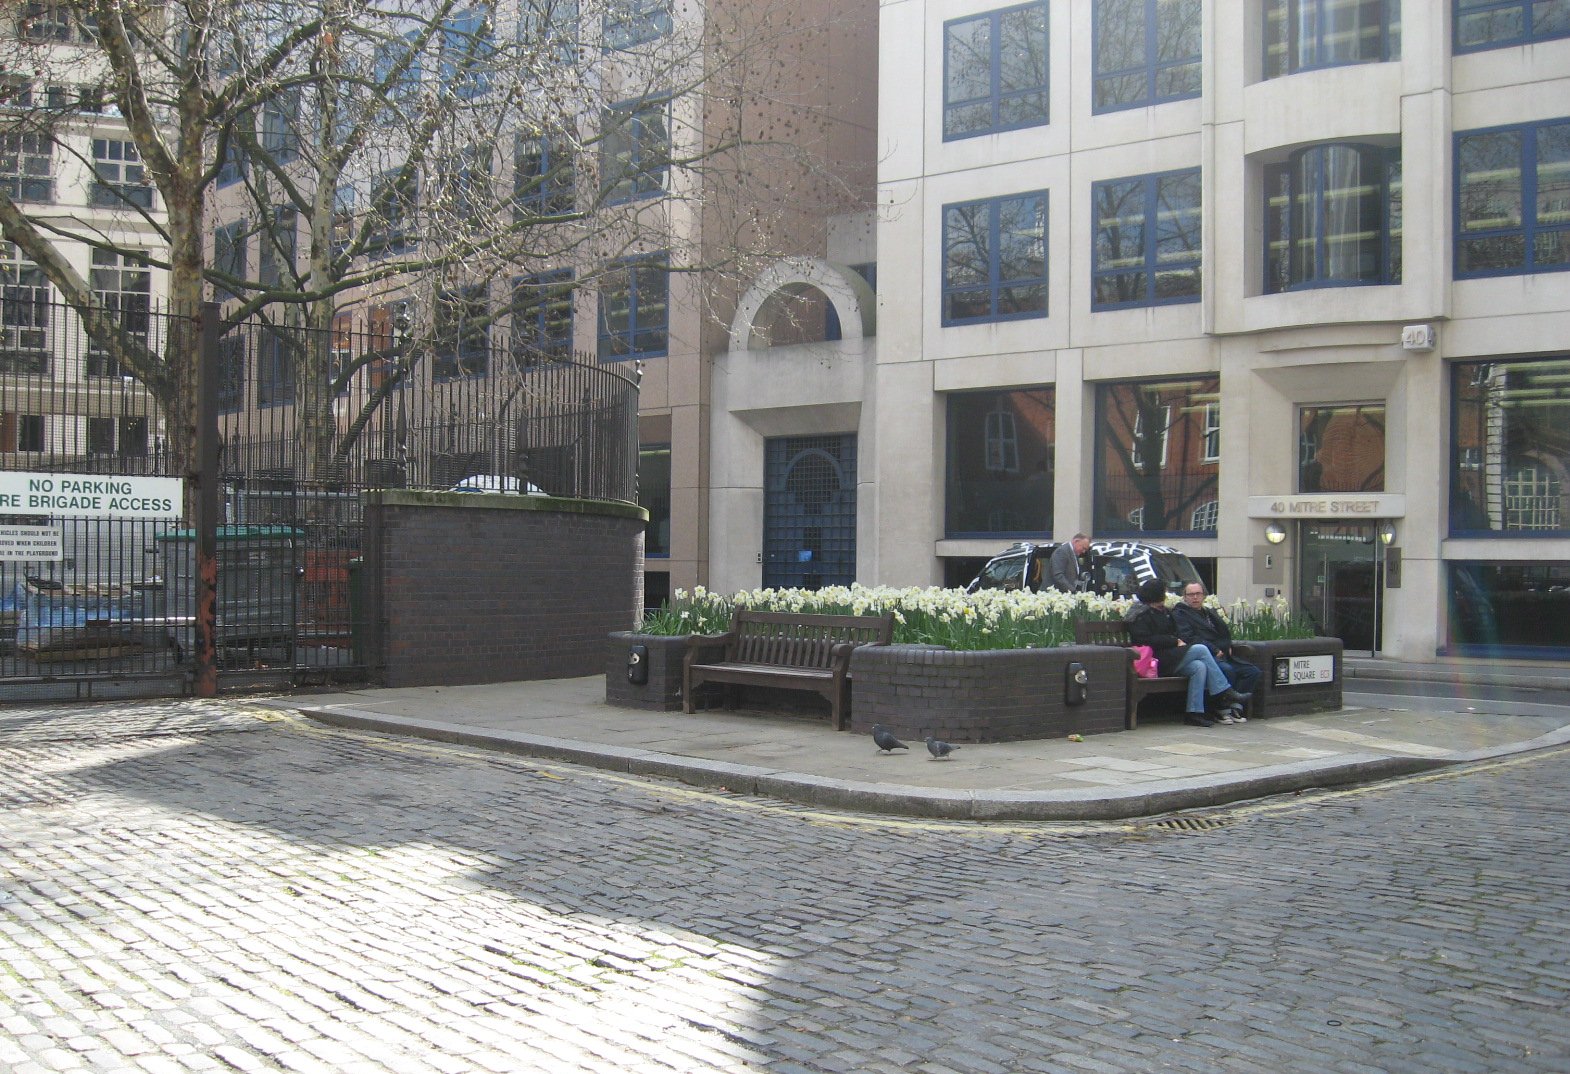
Scene · Catherine Eddowes · 30 September 1888
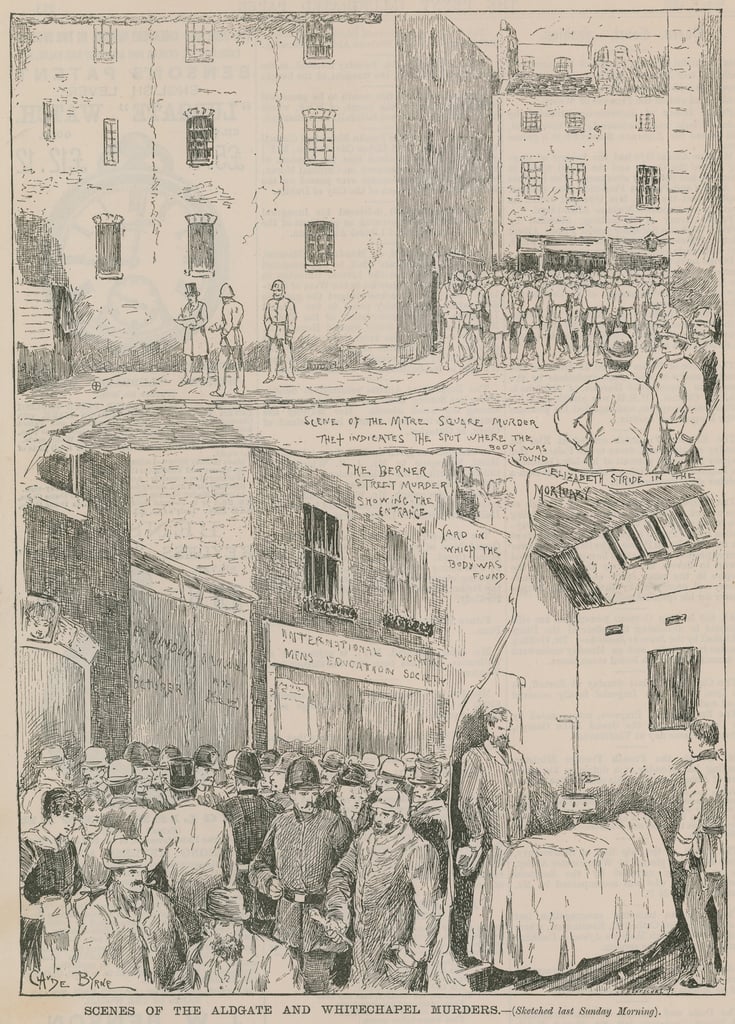
Mitre Square — Catherine Eddowes (with the Goulston Street apron and writing)
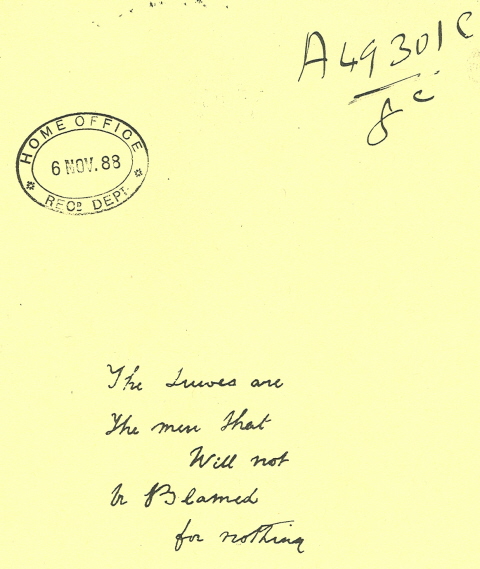
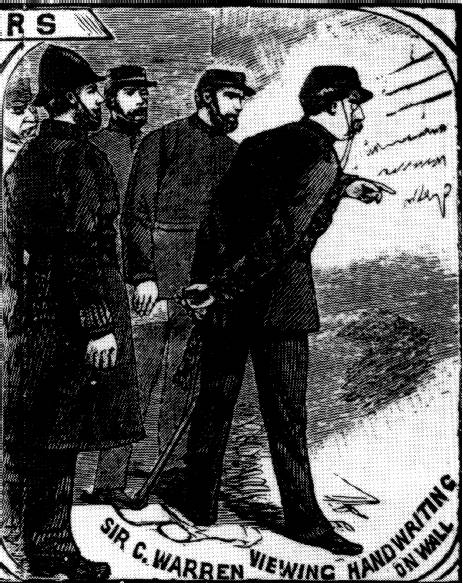
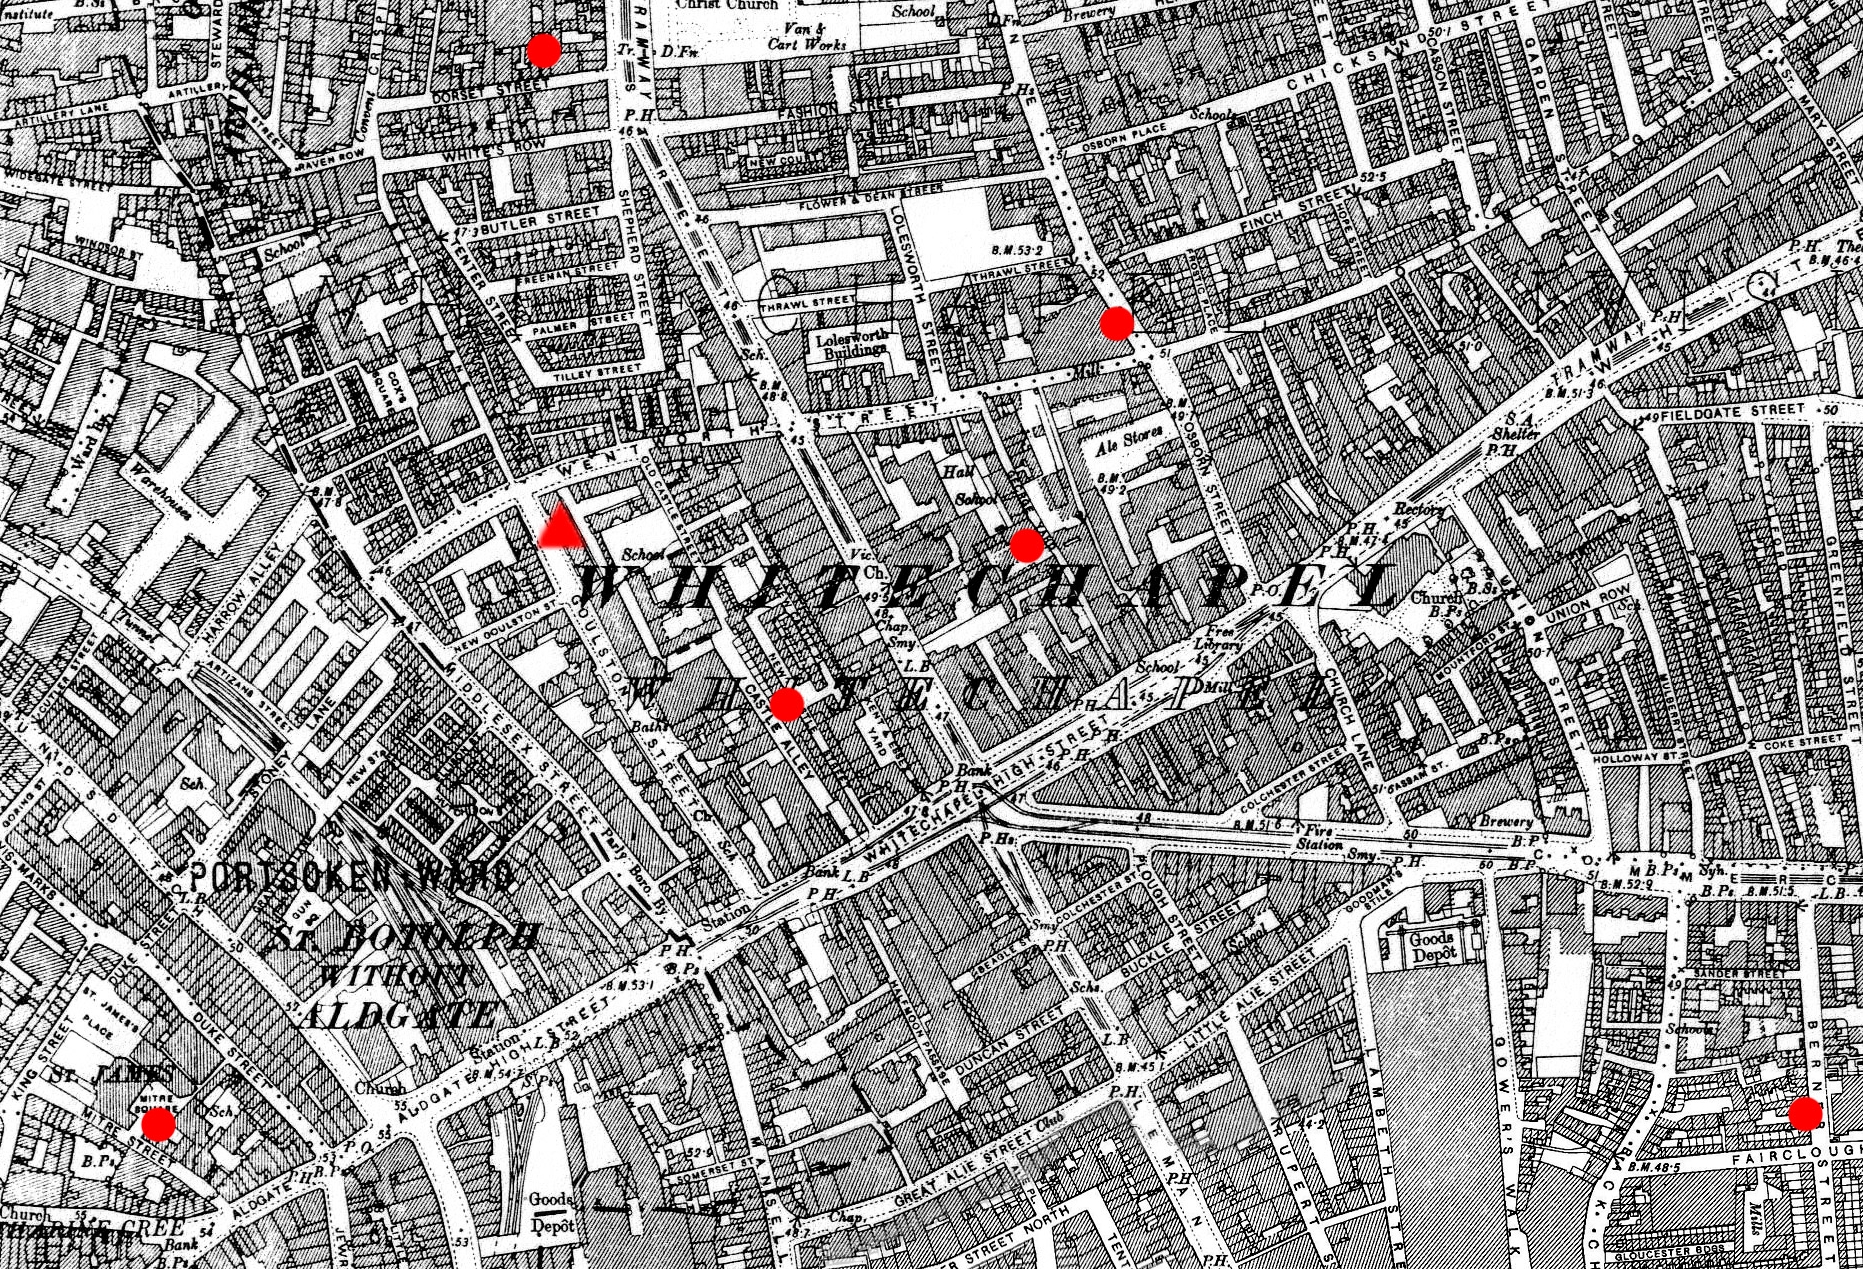
Then: South(-west) corner of Mitre Square, Aldgate, City of London — the dark corner by empty houses and Heydemann's yard; apron piece and chalk writing at the Wentworth Model Dwellings, Goulston Street, Whitechapel. Now: Mitre Square, EC3 (rebuilt; corner now benches and flower beds by the Sir John Cass school); Merchant House, Goulston Street, E1 (doorway now part of 'Happy Days' restaurant entrance).
Schematic plan
approximate uncertain · numbered circles are evidence hotspots (dashed ring: uncertain position)
Plan key: 18 drawn elements, with the basis for each
- Mitre Square (cobbled) approximate · drawn for orientation only · Mitre Square was entered by a broad lit opening from Mitre Street and …
- Mitre Street approximate · drawn for orientation only · Mitre Square was entered by a broad lit opening from Mitre Street and …
- Mitre Street entrance (broad, lit) approximate · basis: wiki · Mitre Square was entered by a broad lit opening from Mitre Street and …, PC Watkins's beat (12–14 minutes) took him through Mitre Square; he pa…
- Taylor's picture-frame shop (faces Mitre St) approximate · basis: wiki · Mitre Square was entered by a broad lit opening from Mitre Street and …
- Backs of three empty buildings approximate · basis: wiki · Mitre Square was entered by a broad lit opening from Mitre Street and …
- Heydemann & Co. yard (fence on ~2½ ft wall) approximate · basis: wiki · Mitre Square was entered by a broad lit opening from Mitre Street and …
- Horner & Co. warehouse approximate · basis: wiki · Mitre Square was entered by a broad lit opening from Mitre Street and …
- Church Passage → Duke Street (18 ft → 5 ft) approximate · basis: wiki · Mitre Square was entered by a broad lit opening from Mitre Street and …
- Wall lamp at Church Passage approximate · basis: wiki · Mitre Square was entered by a broad lit opening from Mitre Street and …
- Kearley & Tonge warehouse & counting house approximate · basis: wiki · Mitre Square was entered by a broad lit opening from Mitre Street and …, Watkins pushed open the ajar door of Kearley & Tonge's warehouse and c…
- K&T door (Morris, ajar) approximate · basis: wiki: about half way along · Watkins pushed open the ajar door of Kearley & Tonge's warehouse and c…
- St James's Passage (covered) → St James's Place approximate · basis: wiki · Mitre Square was entered by a broad lit opening from Mitre Street and …
- Kearley & Tonge warehouse 2 (with yard) approximate · basis: wiki · Mitre Square was entered by a broad lit opening from Mitre Street and …
- Free-standing lamp (reportedly deficient) uncertain · basis: wiki · The murder corner was the darkest part of the square; the free-standin…
- No. 4 (empty) approximate · basis: wiki · Mitre Square was entered by a broad lit opening from Mitre Street and …
- No. 3 (PC Pearce) approximate · basis: wiki; Pearce · PC Pearce at No. 3 Mitre Square (whose bedroom window gave a plain vie…
- Williams & Co. warehouse approximate · basis: wiki · Mitre Square was entered by a broad lit opening from Mitre Street and …
- Body (feet toward square) approximate · basis: Watkins; Brown · Eddowes lay on her back in the dark corner of the square to the right …
Hotspots
Choose a numbered hotspot on the plan, or one from this list, to see its claims and source passages.
Sub-plan: Goulston Street doorway (apron piece and chalk writing)
approximate uncertain · numbered circles are evidence hotspots (dashed ring: uncertain position)
Plan key: 4 drawn elements, with the basis for each
- Goulston Street approximate · drawn for orientation only
- Wentworth Street approximate · basis: wiki: blocks on both corners with Wentworth St · At about 2.55 a.m. PC Alfred Long found a bloodstained piece of white …
- Wentworth Model Dwellings, eastern block (5 storeys) approximate · basis: wiki · At about 2.55 a.m. PC Alfred Long found a bloodstained piece of white …
- Doorway to stairs of Nos. 108–119 uncertain · basis: wiki: four entrances (90–107, 108–119, 120–131, 132–143) · At about 2.55 a.m. PC Alfred Long found a bloodstained piece of white …
Hotspots
Choose a numbered hotspot on the plan, or one from this list, to see its claims and source passages.
Case overview · Map · Timeline · Inquest
Time window
Scene summary (research team's compilation)
Released from Bishopsgate station c.1.00. Watkins through the empty square 1.30. Couple at Church Passage corner c.1.33–1.35 (Lawende, Levy, Harris). Harvey to the end of Church Passage c.1.40 (secondary). Body found 1.44. Collard c.2.03; Dr Brown c.2.18–2.20. Goulston Street: Halse and Long pass c.2.20; apron found 2.55.
- Last reported sighting
- “three or four minutes later [than half-past one]” ≈ 01:35 (claim)
- Discovery
- “1.44” ≈ 01:44 (claim)
- Police beats
- PC Edward Watkins (881 City): Single beat through Mitre Square every 12–14 minutes; passed 1.30, found body 1.44 (claim)
- PC James Harvey (964 City): Aldgate/Duke Street beat; post-office clock 1.28 (claim)
Events at this scene
- Reported: "About two minutes to one o'clock" (Hutt, DT) / "until one o'clock" (Byfield) / "about one o'clock" (Hutt, MA)Normalised: 00:55–01:02 Eddowes is released from Bishopsgate station; Hutt sees her turn towards Houndsditch.
- Reported: "At twenty-eight minutes past one o'clock I passed the post-office clock." (DT) / "between one and two minutes to half-past 1 o'clock" (Times)Normalised: 01:28–01:29 PC Harvey passes the post-office clock at Aldgate on his beat.
- Reported: "I passed through Mitre-square at 1.30 on the Sunday morning." (DT) / "at about 1:30" (Times)Normalised: 01:28–01:32 PC Watkins passes through Mitre Square with his lantern and sees nothing.
- Reported: "it would be twenty-five minutes to two o'clock when we passed the man and woman" (DT) / "left the place about five minutes later" (Times)Normalised: 01:33–01:36 Lawende, Levy and Harris leave the Imperial Club and see a man and woman at the corner of Church Passage; the woman's hand on the man's chest; Lawende later believes the clothing was the deceased's.
- Reported: "about 18 or 19 minutes to 2 o'clock"Normalised: 01:37–01:42 Harvey's beat takes him down Church Passage to the Mitre Square end; he sees no one. Times: he "was there three or four minutes before he heard the whistle", then "about 18 or 19 minutes to 2".
- Reported: "I next came into Mitre-square at 1.44" (DT) / "He fixed the time by reference to his watch after he had called the watchman." (Times)Normalised: 01:43–01:45 Watkins enters the square, finds the body in the south-west corner and calls the watchman Morris.
- Reported: "I arrived at five minutes to two o'clock" (Sequeira) / "At five minutes before two o'clock"... "arriving there about two or three minutes past two" (Collard)Normalised: 01:55–02:03 Dr Sequeira arrives (1:55); Inspector Collard informed at Bishopsgate (1:55) and arrives 2:02-2:03.
- Reported: "about twenty minutes past two" (DT) / "about 20 minutes past 2" (Times)Normalised: 02:15–02:25 Halse passes through Goulston Street, over the spot where the apron was later found, and does not notice anything.
- Reported: "about five minutes to three o'clock" (DT) / "At about 2:55" (Times) / "at 2.55" (Echo)Normalised: 02:53–02:57 Long finds the bloodstained piece of apron in the passage to the staircase of the model dwellings, with chalk writing above; searches the staircases; takes it to the police station.
Layout
Layout (research team's description from the cited sources)
A small, cobbled square of warehouses and a few old houses. A broad, lit opening led in from Mitre Street; on the right as you entered was the back of Taylor's picture-frame shop and then the backs of three empty buildings, ending at the boarded yard of Heydemann & Co. — the darkest corner, where the body lay. Horner & Co.'s warehouse followed, then Church Passage (tapering from 18 ft to 5 ft, wall lamp at its square end) led to Duke Street. The huge Kearley & Tonge warehouse filled the next side (watchman Morris behind its half-open door), with covered St James's Passage in the next corner. Opposite a second Kearley & Tonge building stood the square's only free-standing lamp. Along the last side were No. 4 (empty) and No. 3 (PC Pearce) and Williams & Co.'s warehouse, with a wall lamp near the Mitre Street entrance.
- Retrieved Well supported Three entrances: Mitre Street opening, Church Passage, St James's Passage (claim)
- Retrieved approximate Church Passage 18 ft tapering to 5 ft (Casebook wiki) (claim)
- Retrieved uncertain Corner the darkest; free-standing lamp reportedly deficient (claim)
- Inference approximate Plan geometry schematic (square drawn as rectangle) (claim)
How the body lay (position only; no injury detail)
On her back in the corner, feet toward the open square, head turned to the left shoulder, arms at her sides with palms upward, clothes thrown up, bonnet at the back of her head. (Injury detail omitted here; Dr Brown's in-situ sketch exists and is flagged graphic.)
Street names: Church Passage → St James's Passage 1888 St James's Passage → Mitre Passage Duke Street → Duke's Place Wentworth Model Dwellings → Merchant House (1990)
People at the scene
- Witnesses
- George James Morris, Joseph Lawende, Joseph Hyam Levy, Harry Harris, George Clapp
- Police
- PC Edward Watkins (881 City), PC James Harvey (964 City), PC Richard Pearce (922 City), Inspector Edward Collard (City Police), PC George Henry Hutt (968 City), PC Alfred Long (254A), Detective Constable Daniel Halse (City Police), PC Holland (City)
- Medical
- Dr Frederick Gordon Brown, Dr George William Sequeira
- Officials
- Frederick William Foster
Images
Period photographs, plans and press illustrations, with their licences. Illustrations are artists' impressions. Images flagged as graphic stay hidden until you choose to see them.
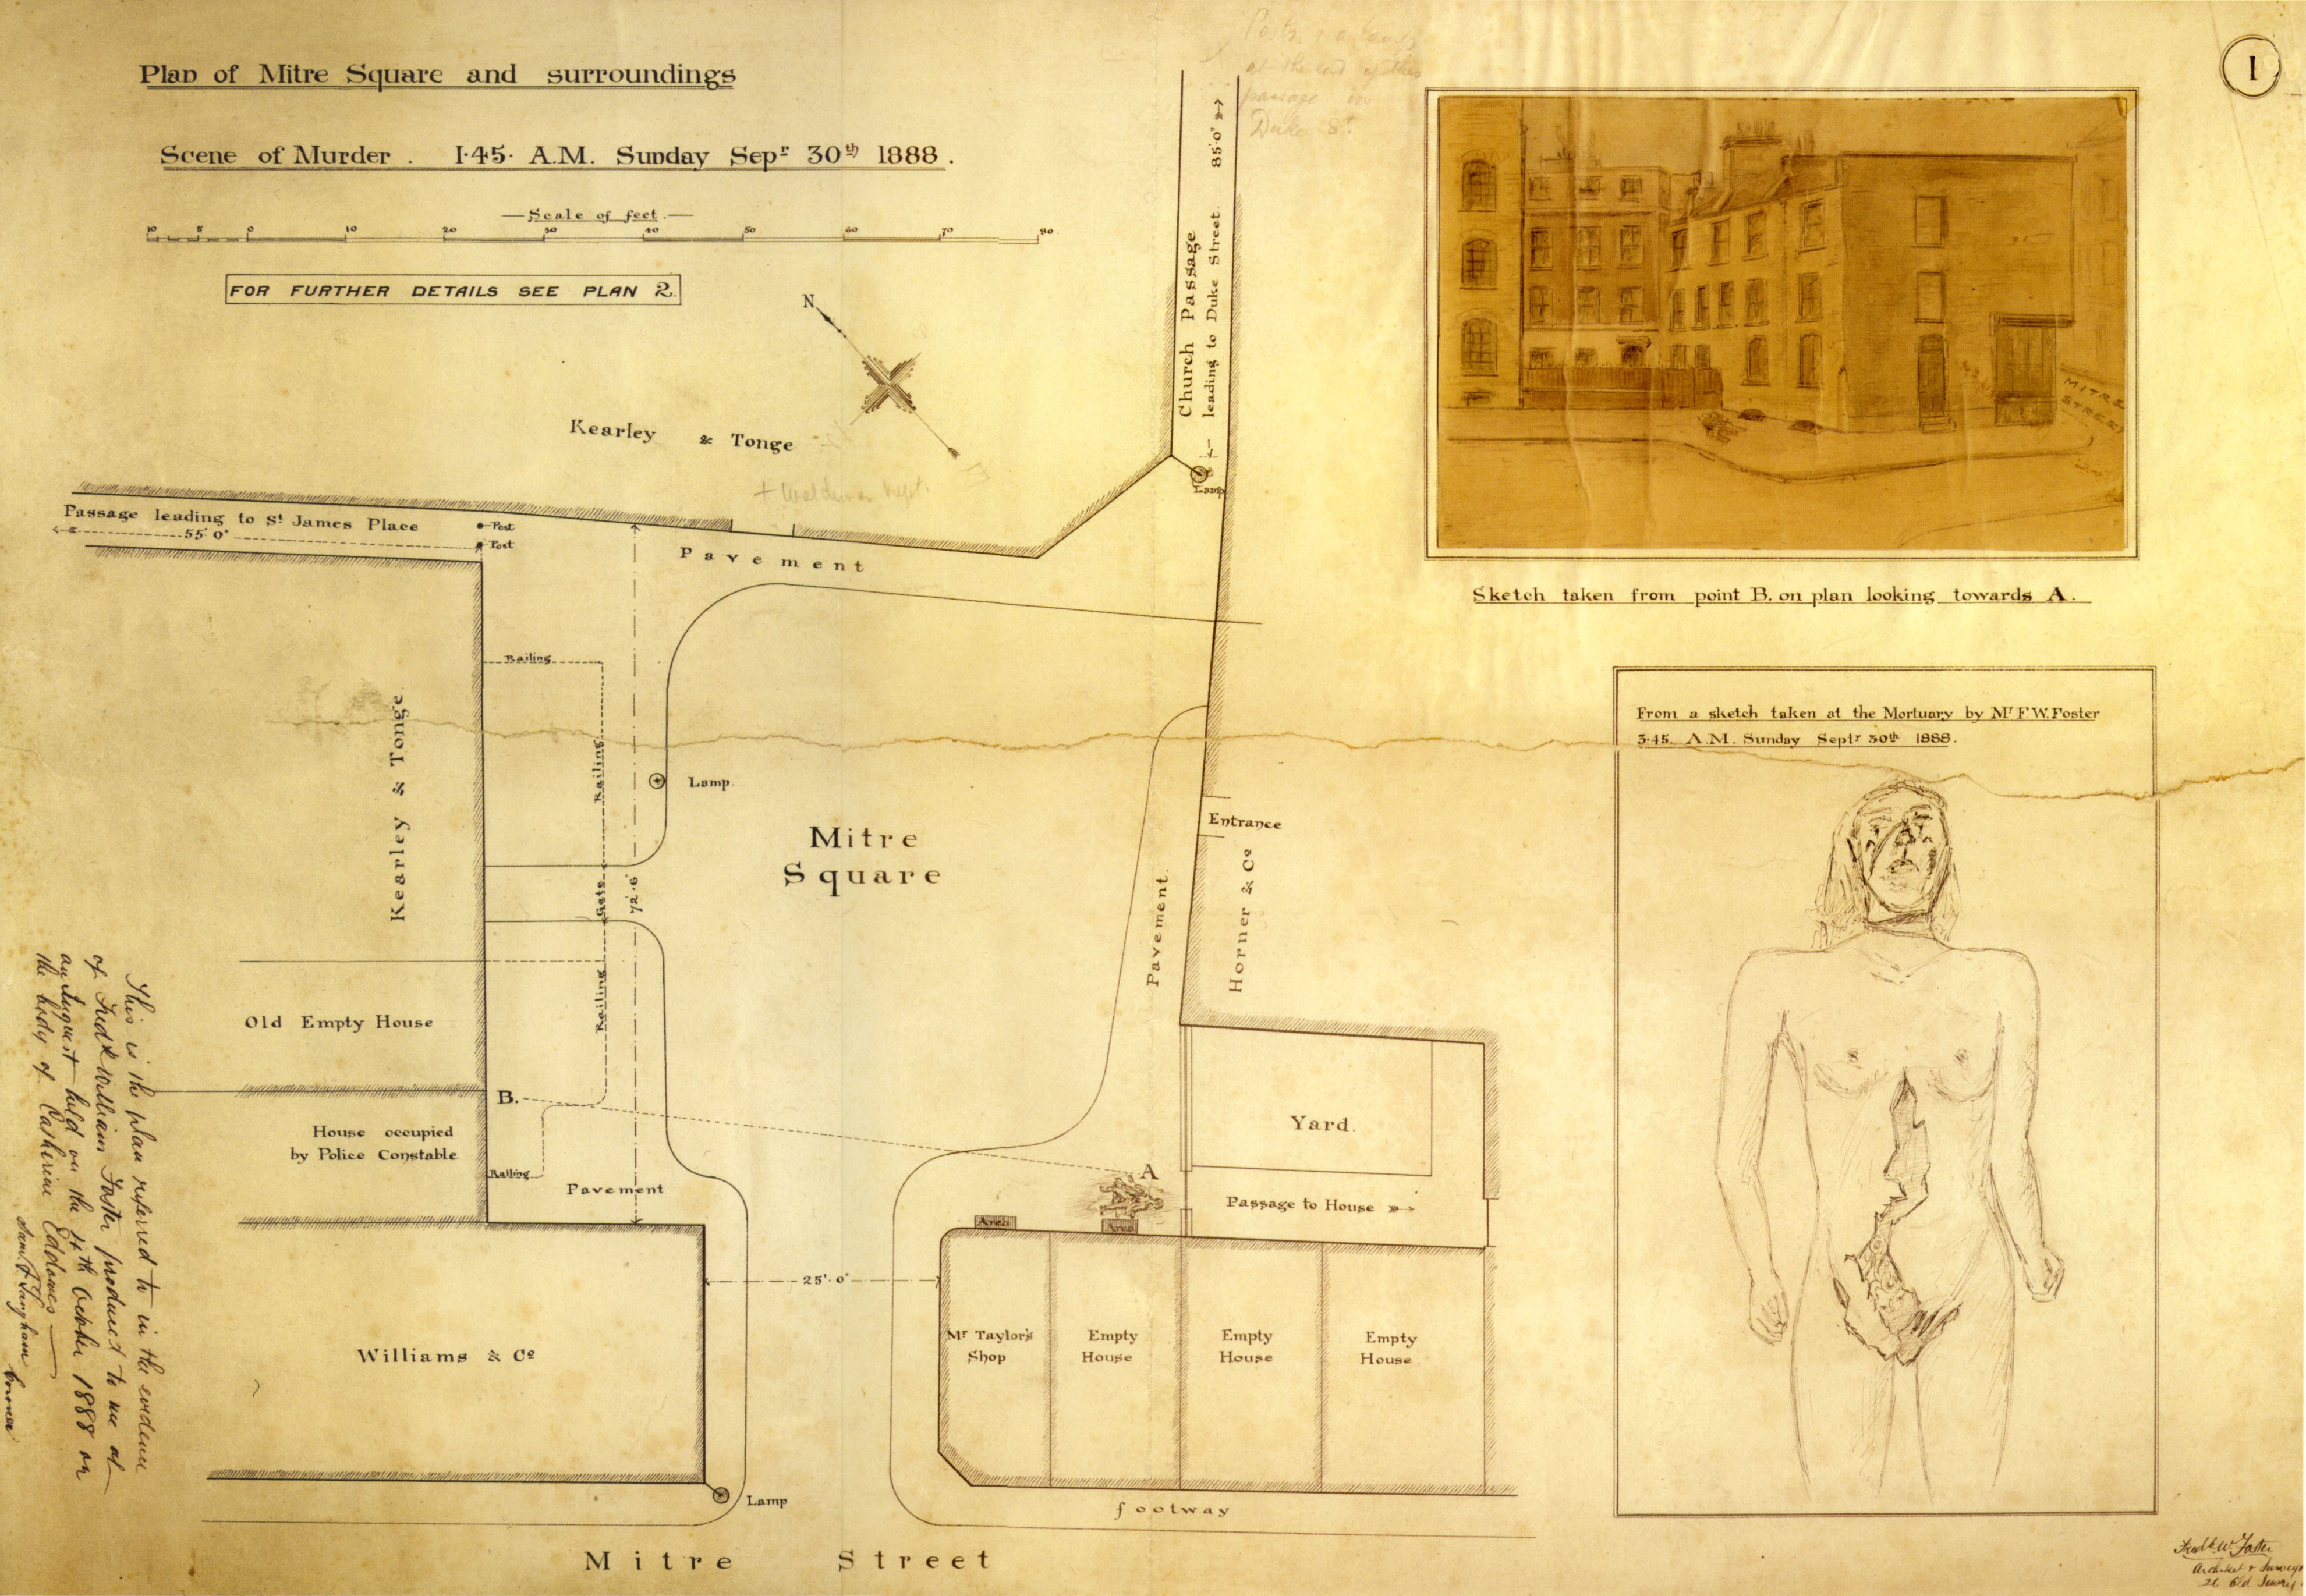

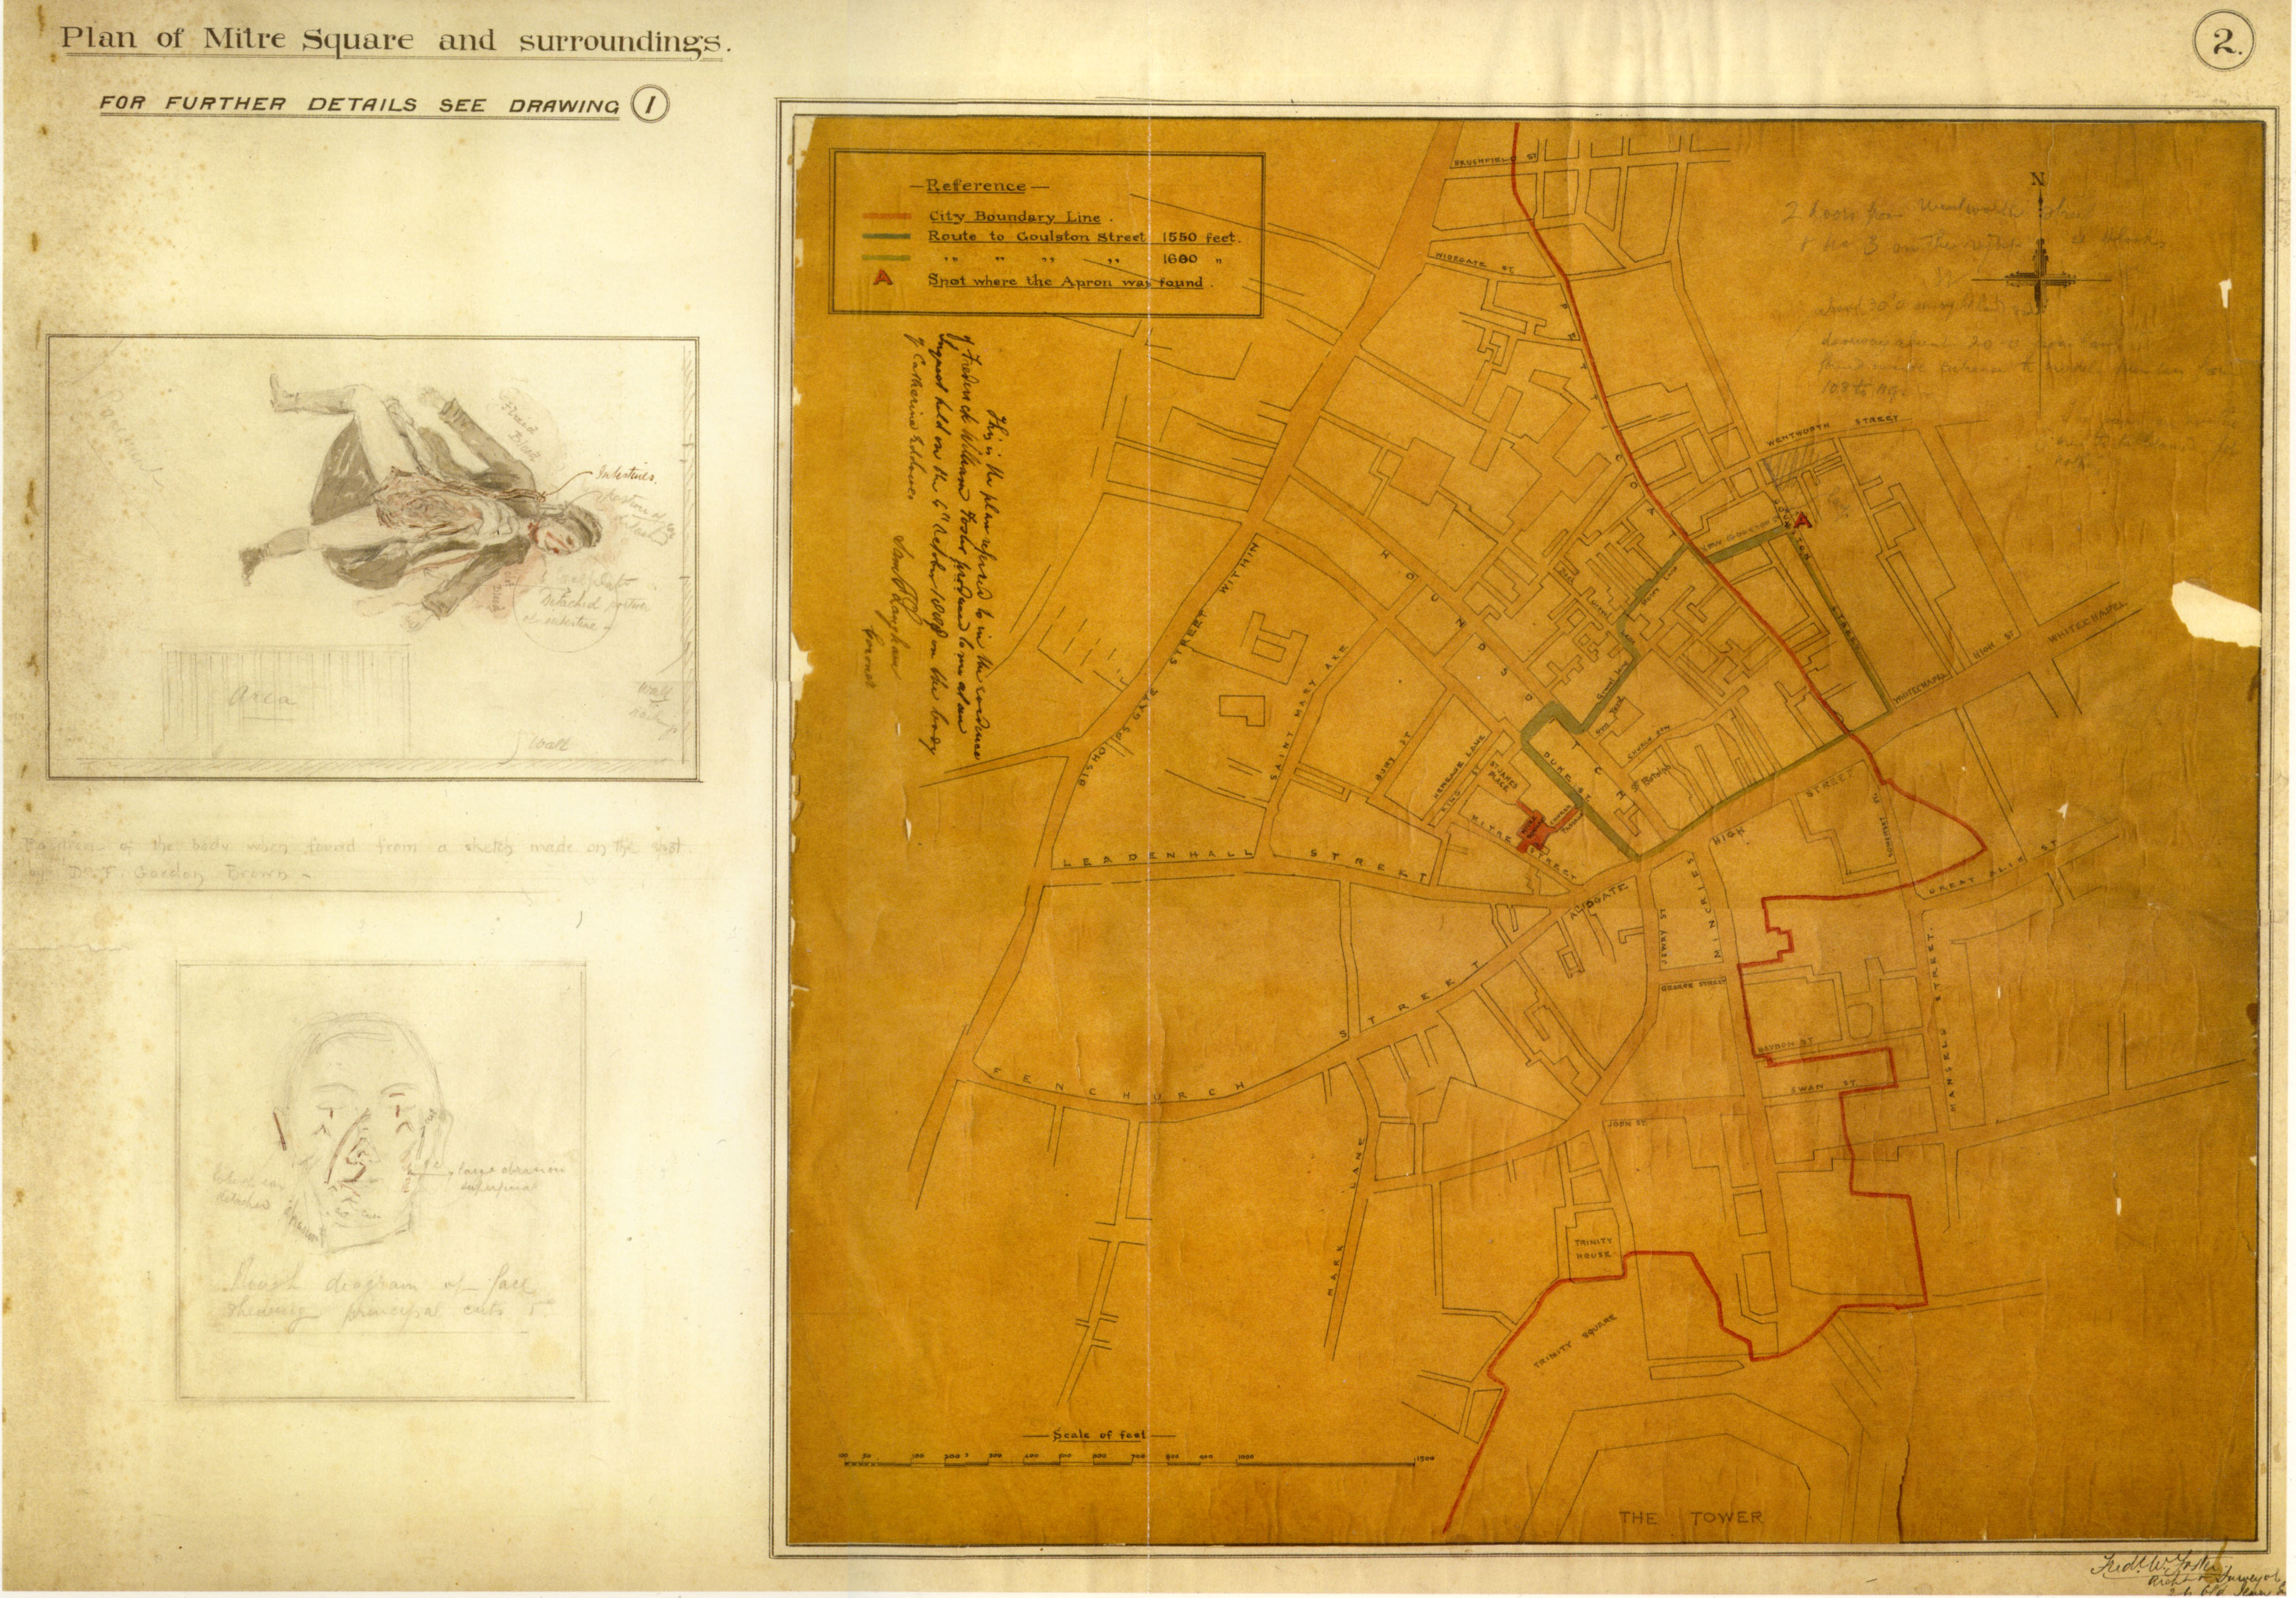

Content notice: graphic material
Police surgeon's drawing, 1888. The body of Jack the Ripper's fourth canonical victim, as discovered in Mitre Square, 30 September 1888.
This item describes or shows severe injuries in explicit detail. It is part of the historical record and is shown for evidential reasons only.
Your choice applies to this kind of material for the rest of this browser session.
Content notice: graphic material
The Illustrated Police News - 13 October 1888 - Jack the Ripper
This item describes or shows severe injuries in explicit detail. It is part of the historical record and is shown for evidential reasons only.
Your choice applies to this kind of material for the rest of this browser session.
Shows the victim (not graphic).
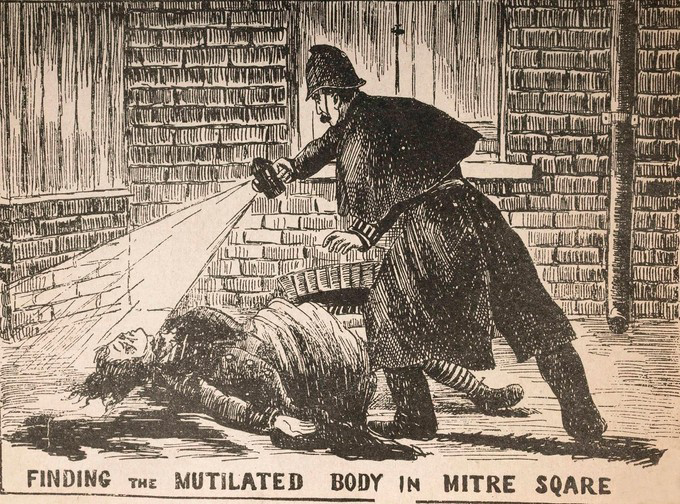

Shows the victim (not graphic).